
Woah, hold on…is it Spring already?! I’ve been waiting for this moment for what felt like ages! Not that I’m not a fan of Winter, but in my honest opinion, it’s not Winter if there’s not snow, cold weather, and fires. This Winter in Austin was very mild, so it was a bit hard to get into the cold weather spirit. I have an abundance of firewood and hot cocoa left over. So sad.

Needless to say, it’s finally Spring, and if there’s one thing I can rely on, it’s a full on Summer in Texas. This can be a problem sometimes with plants, so given the sometimes harsh weather, I’ve decided to go all out on house plants this year. First off, they make amazing decor and add life to any space; secondly, they cleanse your air and make you happy, and lastly, I just love plants, dammit, regardless of my sometimes unsuccessful green thumb.
So, I decided to go to one of my favorite nurseries in town and treat myself and my household. Along the way, I picked up your standard, run of the mill, terra cotta pot. After all, why not? They’re cheap, come in a variety of sizes, and have drainage holes. DRAINAGE HOLES! It’s amazing how many stylish and amazing planters I encounter, and briefly decide I can’t live without, until I turn them over and discover there’s no such drainage holes. Why am I so passionate about these said holes? Well…I’ve had my fair share of drowned plants, and I’d rather not murder any more of my plants at this point. I’m trying hard to cultivate my green thumb, not suffocate such lovely life forms.

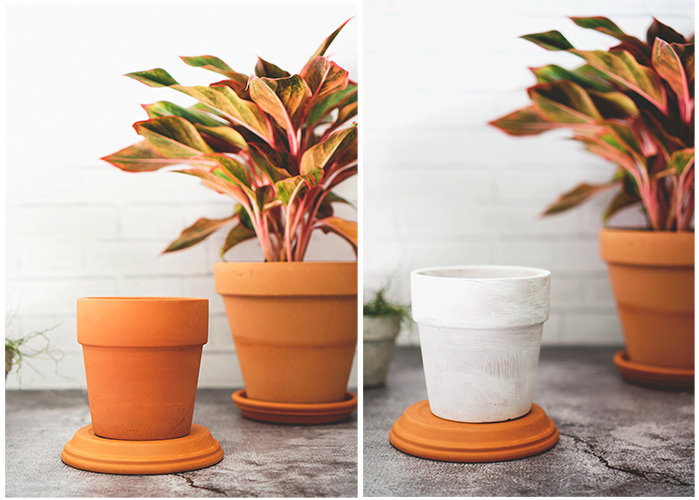
While terra cotta pots have a variety of benefits, I also sometimes find that they can become quite monotone from time to time. I’d rather have an eclectic mix of planters, as is my style, than a blanket of basic terra cotta pots. So, I decided to try a DIY and give them a makeover in hopes that they would resemble concrete planters for a fraction of the cost.

I collected a variety of supplies, including four shades of paint, a blending paint brush, paper towels, and of course, terra cotta pots. I also grabbed some popsicle sticks I had on hand, in order to apply a texture for a more authentic feel. First, start by painting the planter with a white base layer. Next, brush on a dark charcoal to black color in a variety of places for depth. Afterwards, I added in a mauve-taupe color for a little warmth; visually, I wanted it to be realistic on first glance, so I didn’t wan’t to limit my color palette to only three colors. After adding in that very subtle touch of color, I blended a very light, warm grey color over the previous layers, brushing lightly to ensure I didn’t entirely cover the previous layers.

So, now that we’ve got layers of paints blended together for a dimensional look, it’s time to talk texture. As we all know, most concrete is far from soft; it’s full of bubbles, texture, and and inconsistencies. I wanted to carry this through with the paint, and after a bit of digging, I pulled out some jumbo popsicle sticks from my craft closet to lather on some paint; while this was the most handy and available tool in my household, there are a variety of other items you could use, such as a painting spatula. That would be my choice of tool, but couldn’t find mine buried in the garage…so I settled. On popsicle sticks. You make it work if you’re determined.

Applying a generous amount of paint to your tool, swipe it across the planter in a rough motion. You want to achieve a blotchy, inconsistent look to resemble the scraping and smoothing of fresh poured concrete. After smoothing out an area, press a paper towel lightly onto the fresh paint to lift some of the thickness and slightly reveal those layers you painted earlier.
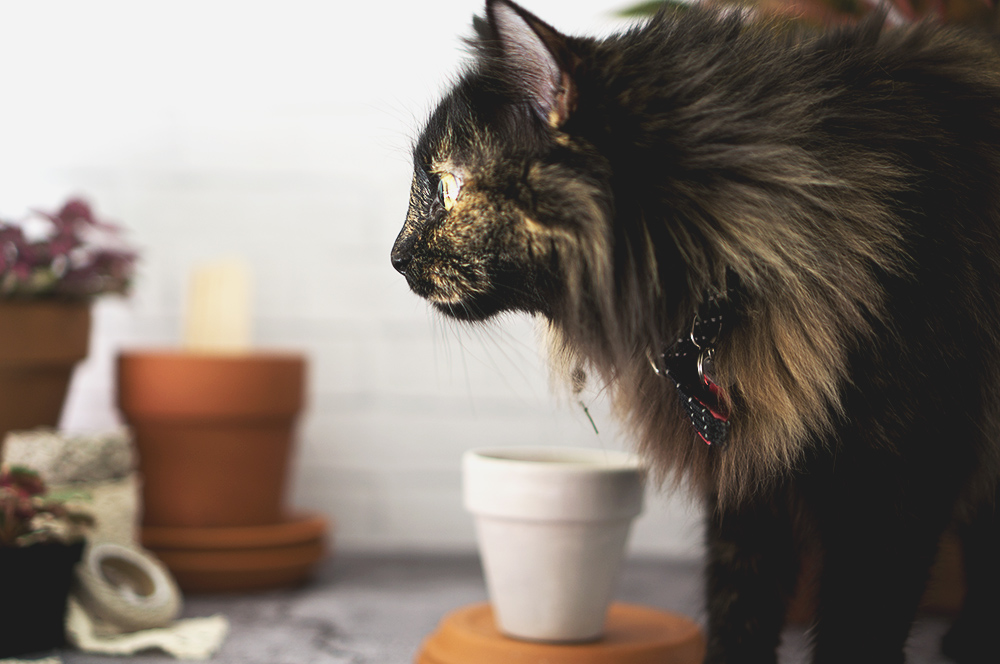
Oh, hello there little cat! This is my full time assistant, Nora. OK, OK, I admit, she’s more of an obtrusive, attention seeking, lover then she is assistant, but I sure as shit adore her, so she gets her way for a while. I adopted her a little over five years ago from a friend, she had chattered her way into my heart so I couldn’t resist swooping her up. She’s my little, mischievous, curious, fox.
Anyway, back to the project. Once the paint dried, I went ahead and spray painted the newly painted planters with a matte sealant; this would be recommended if your planters will be outdoors. If indoors, it’s entirely up to you, but I figured why not?

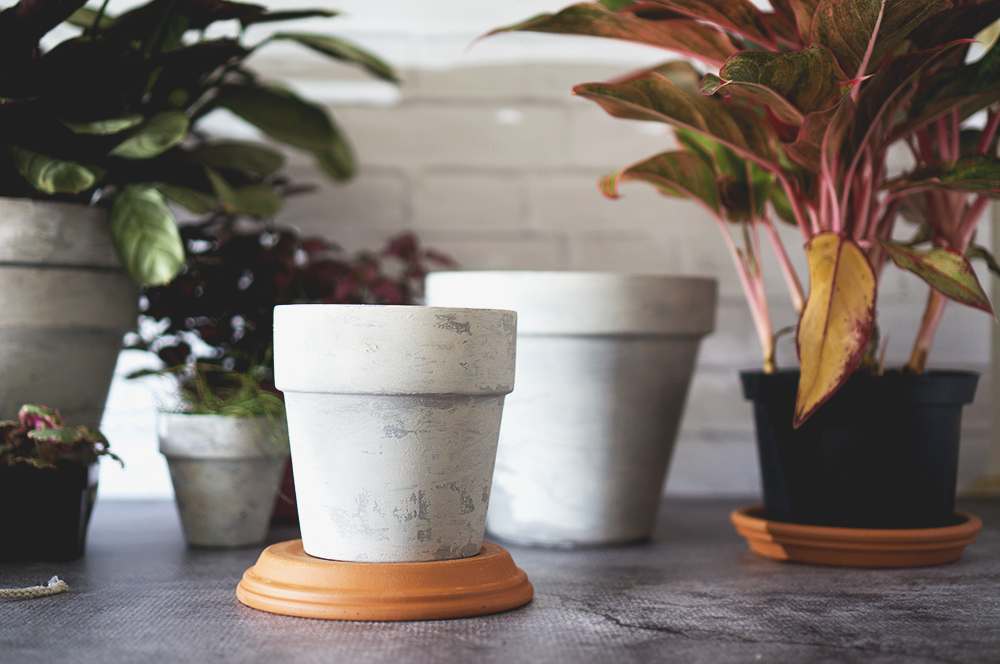
In the end, I painted five new planters to be distributed throughout the house with cheerful and lovely plants. They add brightness and beauty to any space!

The full and final collection of the faux concrete pots, to be mixed in with a variety of planters for a fun, eclectic mix.
SUPPLIES
White Paint
Light Grey Paint
Mauve-Taupe Paint
Charcoal or Black Paint
Paint Brush
Paint Spatula (or) Popsicle Sticks
Paper Towel
Terra Cotta Planter
TO MAKE
Begin with a clean terra cotta pot; using the white paint, brush a base layer on the planter, coating with a thin layer. Next, brush on charcoal or black paint in an inconsistent pattern, leaving white spots showing throughout. After blending the darker color throughout, blend a taupe or mauve color throughout for warmth and depth, again in an inconsistent pattern. Once you’re satisfied with the first three layers, apply a light coat of light grey, blending throughout for smooth transitions between colors.
Now that all base layers are applied and blended, grab your paint spatula (or makeshift tool; dip it into your light grey paint. You want to get paint onto your tool, but not too much, otherwise you may find it harder to get a more sporadic texture. With the paint loaded spatula, smear it loosely onto to planter; limiting yourself to just one side, scrape, smear, and smooth until you’ve reached your desired look. Lightly place a paper towel over the wet paint and press to remove any unnecessarily thick paint; after all, you don’t want to loose all the color layers previously painted. Continue to work your way around the planter until you’ve gone around the entire plater.
If using the planters outdoors, go ahead and seal your piece with a matte sealant or polyethylene once the paint is dry. This will help achieve a longer lasting life.
Lastly, experiment; find what works best for you. You’ll find that each planter you paint will be different, and you’ll hone in on your technique as you get a feel for it.

They look great! What a way to transform the ordinary terra cotta and it’s such a clean, rich look.
LikeLike
Thank you! I appreciate the feedback, and yes, I couldn’t be happier with the end result 🙂
LikeLike
Such an awesome idea! I’ll definitely have to give this a try sometime. Oh, and good luck with your plant babies!
LikeLike
Thanks for the well wishes! And if you give it a try, I’d love to see how they turned out 🙂
LikeLiked by 1 person
Such a great look, and wonderful idea! Hey, if you didn’t have enough of a winter in Austin, I’ll trade you Chicago’s weather! 😉 I’m very much ready for spring to arrive in full!
LikeLike
Haha I love it! We need to send some of our warm weather your way indeed! Hope Spring it finally starting to break thru in the Mid West 🙂
LikeLike